
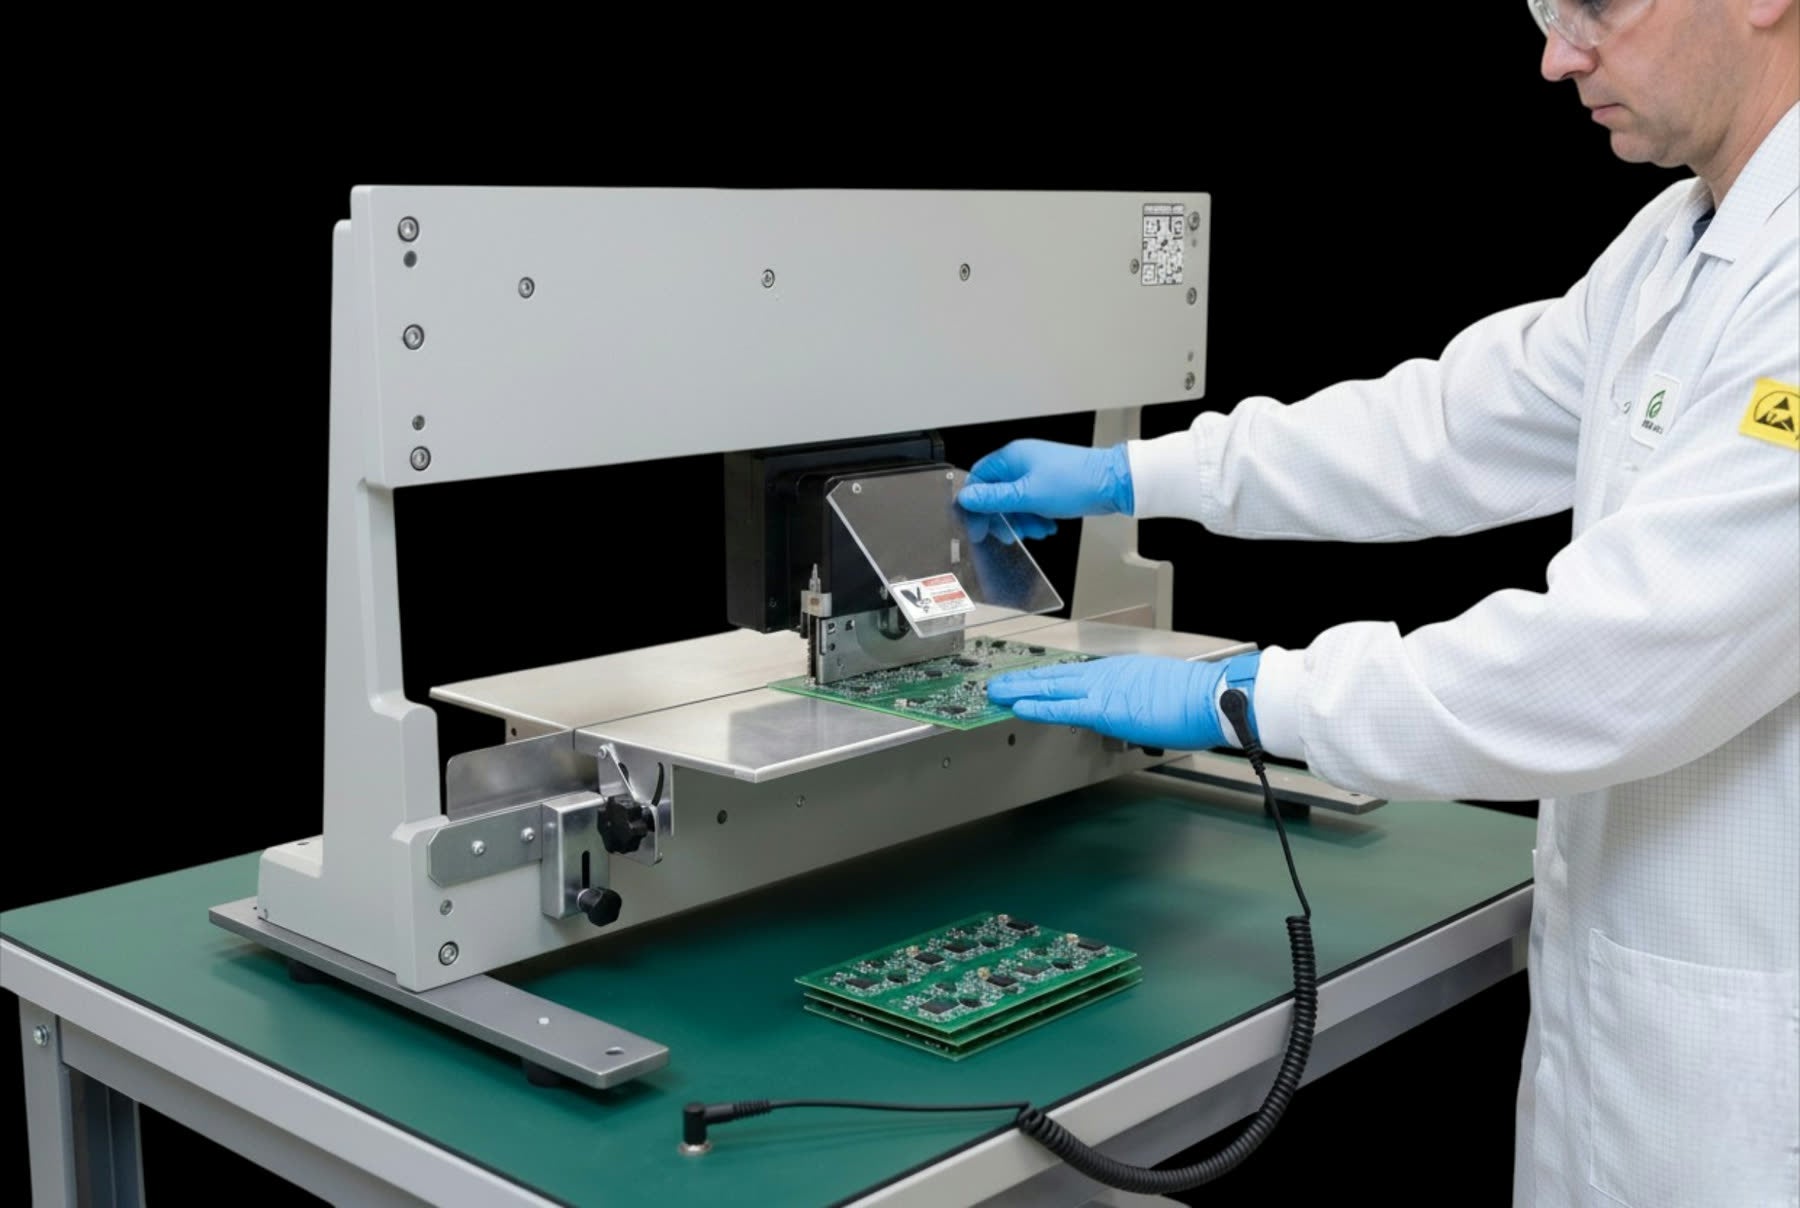
VPD3-1M setup: the stage and the linear slides
Six steps to get a detached stage onto its linear slides square, in the order that makes it drop on instead of fight you, with the height brackets preset before anything is offered up.
The VPD3-1M is 35 kg (77 lb) and needs a bench rated for at least 60 kg (133 lb). Set it down with two hands. The stage ships detached, and getting it onto the linear slides squarely is the whole of the setup.
Before you touch a knife: engage both carriage end locks, and handle every blade by the back edge only.
- Wind both height brackets to 1.5 in (38 mm) first.
Both linear slides on the rail, both knurled wheels at the same height, before the stage comes anywhere near them. Done in this order the stage drops on. Done in the other order you end up fighting an aligned part into an unaligned bracket.

Both slides installed and both knurled wheels wound out to the same 1.5 in (38 mm). This is the state the stage expects to meet. - Check level before anything is fastened.
A spirit level across the stage, then the height adjusters underneath. Five minutes here is worth more than any adjustment you can make later, because a stage that is out of level cannot be corrected at the blade.

Level across the stage, adjusters below it. Both arrows point at what you turn if the bubble is off. - Offer each carriage block up by hand. They locate by feel. Nothing is forced at this stage, and nothing is fully tightened either.
- Start the bracket screws, do not seat them.
Leave enough float that the slide can still move while you bring the holes into line.
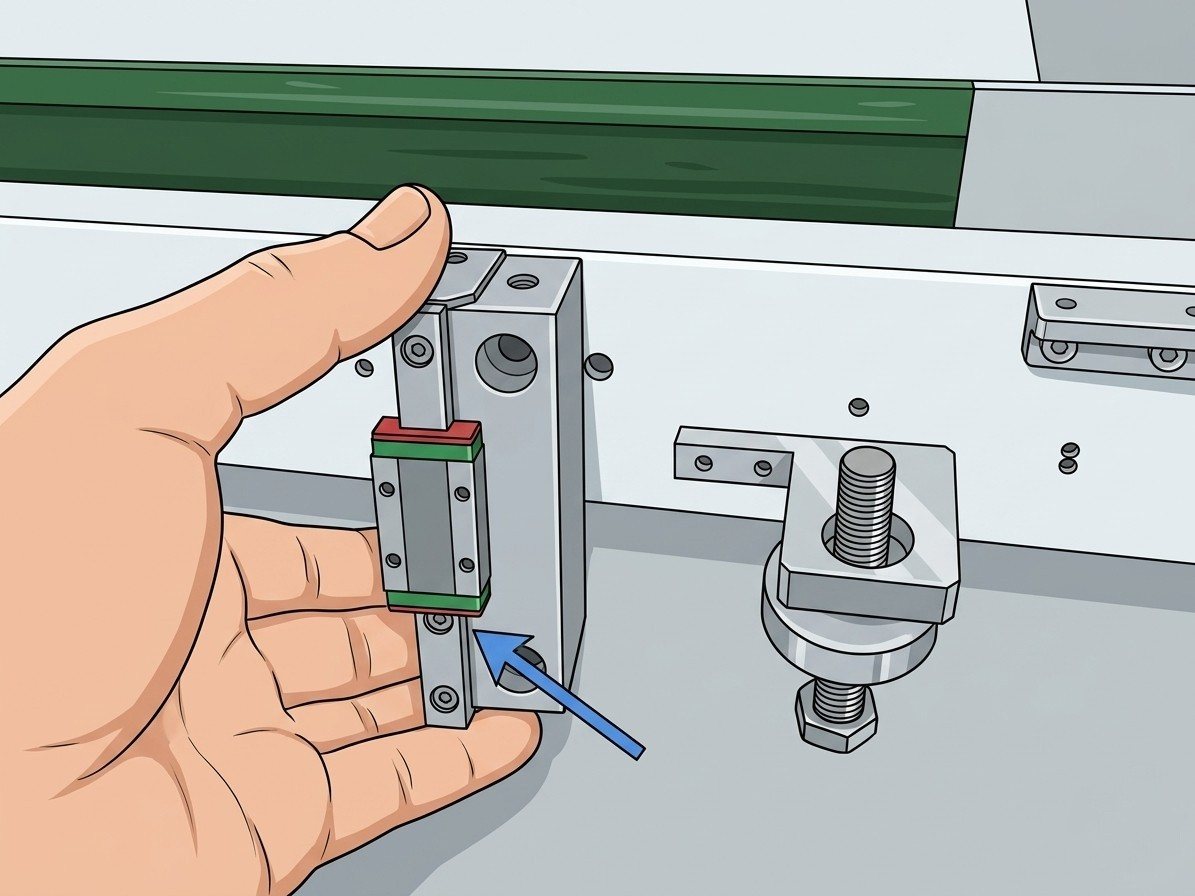
By hand, into the bracket. 
Screws started, float left in. - Push each slide up and pick up the holes with a hex key.
Finger pressure under the slide, hex key through the plate. When the key drops through cleanly the slide is where it belongs.

Push up by finger, align with the key. If the key has to be persuaded, the slide is not up. - Now tighten, and check the rear stage.
Bring the screws down in stages rather than one at a time to full torque. Then confirm the rear stage sits flush with the lower linear blade and the platform top is parallel to the blade edge. Platform height runs 0 to 25 mm (0 to 0.98 in) to match your panel. Every knurled knob hand tight, because a loose knob is what lets a cut drift a week later.

Final tighten. After this the only routine adjustment is blade height: clockwise on the knurled knob brings the upper blade down, counter-clockwise raises it.


Next: blade height and the gap between the circular and linear blades are set at the knurled knob, and they come back around at every blade change. That is on blade gap and alignment.
VPD3-1M numbers
| Cut length | 290 mm (11.42 in) |
|---|---|
| Unit weight | 35 kg (77 lb) |
| Bench | Rated 60 kg (133 lb) or better, stable and level |
| Height brackets at install | 1.5 in (38 mm), both sides equal |
| Platform height | 0 to 25 mm (0 to 0.98 in) |
| Lubrication | Linear guide every 100 km (62 miles) of carriage travel, roughly 50 days of single shift use |
| Blades | VPD3-1CB upper circular and VPD3-1LB lower linear, changed as a pair |
Mixed runs, no air line, one operator?
That is what the VPD3-1M is for. It ships from the US with the blades fitted and the operation manual. Tell us the panel size and the score depth you run and we will confirm it fits before you raise the PO.
Dimensions vérifiées ? Le finder transforme votre carte en référence exacte.