
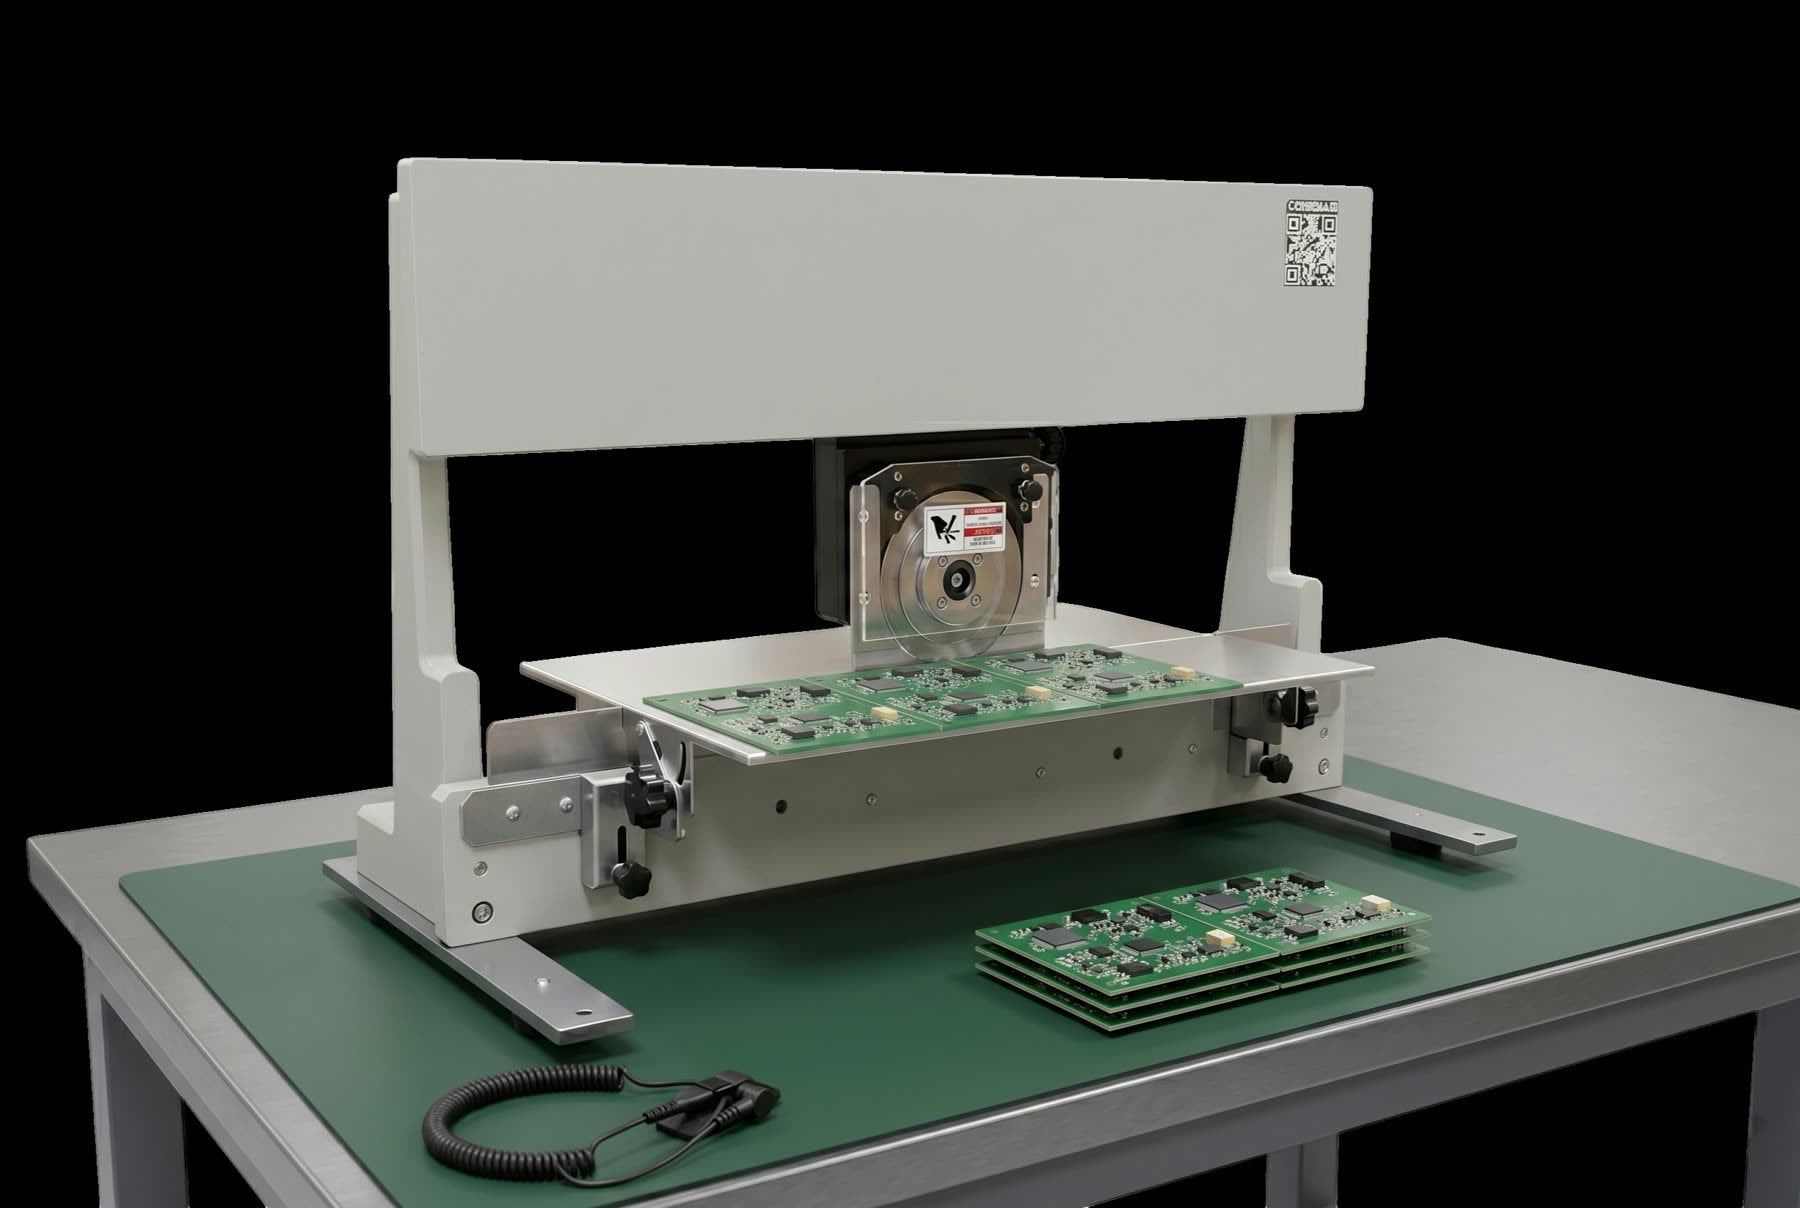
V-cut depaneler troubleshooting: what the cut edge is telling you
The fault tables from the VPD3-1M and VPD5-330 service manuals, the two checks that find most problems in under a minute, and the intervals that stop them coming back.
Almost every depaneling complaint we are sent turns out to be one of four things: a blade gap that has drifted, a carriage or a piston that needs lubricant, a blade past its life, or air pressure that is not what the gauge claims. The tables below are the ones our engineers work from, lifted out of the operation manuals for the two machines.

VPD3-1M manual depaneler
| Symptom | Probable cause | What to do |
|---|---|---|
| Carriage binds at one end of the rail | Linear guide dry or contaminated | Lubricate the linear guide: engage both end locks, apply a small amount of lithium-based grease to the two oil holes under the carriage, wipe the excess, then cycle the carriage end to end to distribute it |
| Carriage drifts under load | Ratchet handle not fully locked | Re-engage the ratchet handle to the lock position |
| Cut is incomplete along the panel | Blade gap too wide | Re-run the upper-blade height procedure |
| Cut edge shows fiber pull | Blade dull or chipped, or gap too wide | Inspect both blades. Replace as a pair if chipped, re-tune the gap if they pass inspection |
| Excessive force needed to draw the carriage | Gap too small, or blades clamping the panel | Open the gap slightly, and confirm the score depth on the panel is at least 0.25 mm (0.010 in) |
| Panel does not slide freely under the guiding plate | Guiding plate too low | Raise the guiding plate |
| Separated boards do not slide into the bin | Platform tilt angle too shallow | Increase the platform tilt angle |
| Paper feeler scratches at one end only | Blades out of parallel alignment | Re-set the upper blade height with the carriage at mid-rail, and inspect the blade mounting screws for looseness |
| Visible chip on a blade edge | Blade impacted during a cut or in storage | Replace both blades as a matched pair. Do not run a chipped blade |
VPD5-330 pneumatic depaneler
| Symptom | Probable cause | What to do |
|---|---|---|
| Upper knife does not descend when the foot switch is pressed | Sliding hand valve closed, air supply not connected, or hose pinched | Open the hand valve, confirm 6 bar (85 psi) at the gauge, and check the hose path |
| Knife descends slowly | Flow control valve B partially closed, or inlet pressure low | Open valve B fully, counter-clockwise, and confirm supply pressure |
| Knife returns slowly | Flow control valve A partially closed | Open valve A fully, counter-clockwise |
| Upper blade descends but does not rise, or only one end rises | Upper-blade carrier needs lubricant | Run the lubrication recovery: vent the line first, loosen the two screws on the left-hand side, add roughly 20 ml (0.7 fl oz) of lubricant to the ports on both sides of the carrier, then cycle the foot switch to distribute it |
| Cut is incomplete along the panel | Gap too wide, or the panel is not sitting flat on the lower knife | Re-run the setting-the-knives procedure and confirm the panel rests flat |
| Cut edge shows fiber pull | Knives dull or chipped, gap too wide | Inspect the knife edges, replace if worn, re-tune the gap if they pass |
| Excessive force needed to insert the panel | Gap too small | Turn the adjusting knob counter-clockwise to increase the gap |
| Audible air leak at the inlet | Damaged or loose fitting, missing O-ring | Close the hand valve, inspect the inlet fitting, replace the O-ring or the fitting |
| Foot switch sticks down or returns slowly | Foot-switch hose pinched, or the pedal is contaminated | Re-route the hose and clean the pedal exterior. Replace the pedal if the internal seals are damaged |
| Pressure gauge reads zero with the valve open | Upstream supply off, or a faulty gauge | Confirm the shop supply, then verify with an independent gauge at the inlet |
| Knob feels loose, or the gap drifts under load | Adjustment-knob assembly has lost tension | Re-tension it with two 19 mm wrenches: hold the first nut, loosen the second anti-clockwise, turn the first clockwise to its limit against the knob, then lock the second back against it |
Two checks that find most of it
The paper test, on either machine. Slide a sheet of standard typing paper across the blade gap at three points, left, middle and right. A consistent scratch mark should appear at all three. If it scratches at one end and cuts through at the other, the blades are out of parallel alignment. On the VPD5-330 the target is a clear scratch without the paper separating: the optimum closed distance is zero, but the blades must never strike each other.

Air, on the VPD5-330. With the supply connected and the sliding hand valve open, the panel gauge should read its operating value of 6 bar (85 psi), fed from a dry, oil free supply inside the published range of 0.4 to 0.6 MPa (58 to 87 psi). A reading outside that is a supply problem, and the machine should not be used until it is resolved. Adjust the upstream regulator before you adjust anything on the machine. A machine blamed for a bad cut is often a compressor that sagged.

What to do, and how often
- Every shift. Inspect both blades for chips, dulling or fiber pull at the start of the shift, and check the cut edge on the first panel against a retained good sample.
- End of shift. Park the carriage centered, engage the end locks, and clear panel fragments and scrap from the platform and blade area.
- Every 100 km (62 miles) of carriage travel on the VPD3-1M, roughly 50 days of single-shift use, lubricate the linear guide.
- Every 2 months of single shift use on the VPD5-330, one pump of green or white lithium grease at the lube fitting ports. More often if you run more than one shift.
- Before any long storage period. Apply a thin oil film to both blades.
- Whenever a knurled knob feels loose. Hand-tight is the standard. A loose knob lets the cut drift.
- Never disassemble the carriage rail or the blade carrier internals. Contact us before any service that needs the assembly opened.
The blades, and the numbers to order
- VPD3-1M: upper circular VPD3-1CB and lower linear VPD3-1LB, always changed as a matched pair, or the blade pair kit. Tools: 2.5 mm, 4 mm and 6 mm hex keys. Older purchase records list the same two blades as VPD3-1CK and VPD3C-1LK.
- VPD5-330: the VPD5-330LK matched knife pair, factory-tested for center tolerance and edge balance. Alignment is set with the Blade Calibrator supplied with the machine.


Not sure which pair your machine takes? Send us the serial number off the frame and we confirm it before you order. Blade life, and the four symptoms that show up before scrap does, are covered in the blade life guide.
Still cutting badly after all this?
Tell us the machine, the serial number and what the cut edge looks like. An engineer answers, and if it needs the full operation manual we send that too.
Ask an engineer Depaneling sparesSizes checked? The finder turns your board into an exact part number.